
Step 1: Create an API Key for SCIM in Blacksmith
- Log Into Blacksmith InfoSec
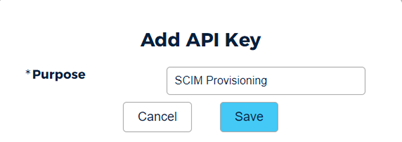
- Add a new API Key
- Click +New Key
- Enter “SCIM Provisioning” in the Purpose
- Click Save
- Copy the Client Key

Step 2: Register Your SCIM Application in Azure AD
- Log into Azure Portal:
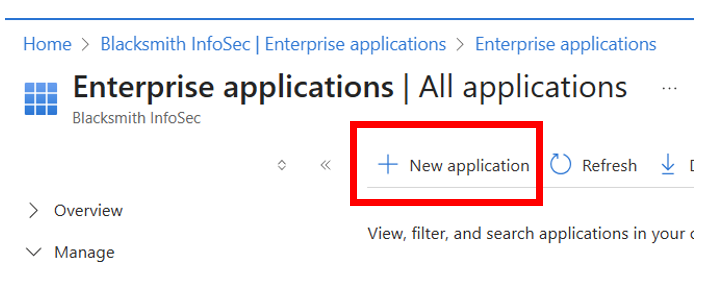
- Create a New Enterprise Application:
- Go to Applications > Enterprise applications > New application.
-
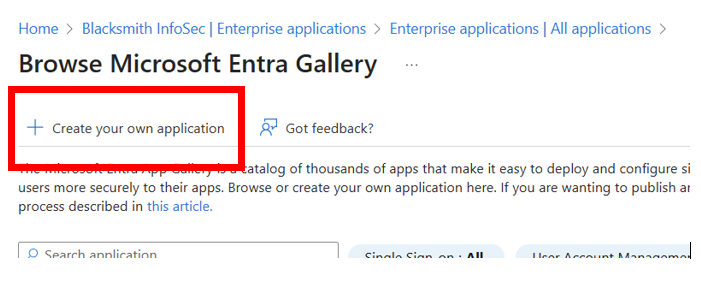
- Select Create your own application.
-
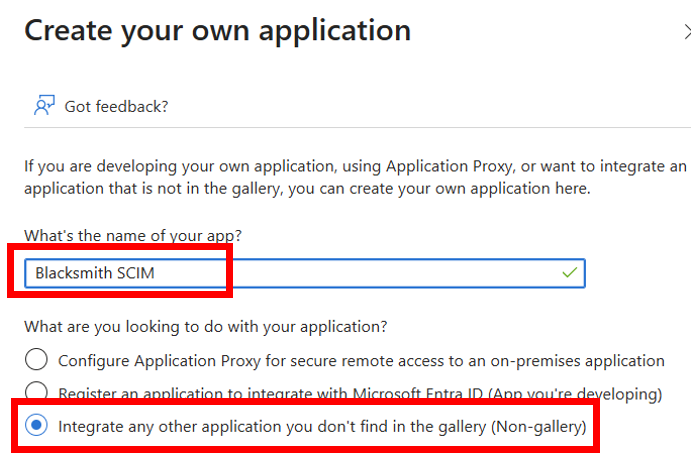
- Enter a name for your SCIM application and select Integrate any other application you don’t find in the gallery.
-
- Click Create at the bottom of the screen
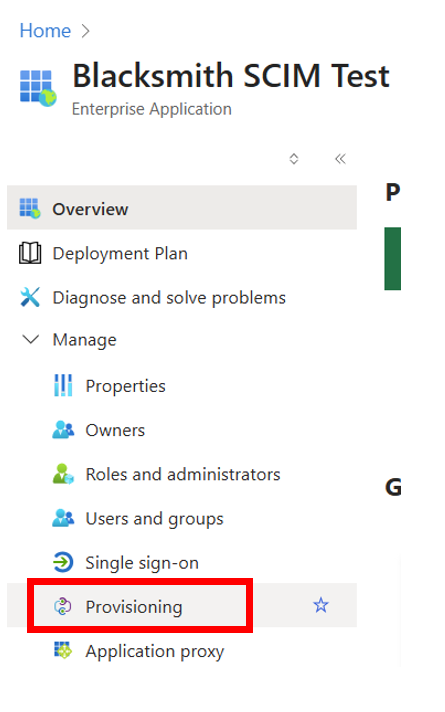
- Provisioning Configuration:
- Once the application is created, go to Manage > Provisioning.
-
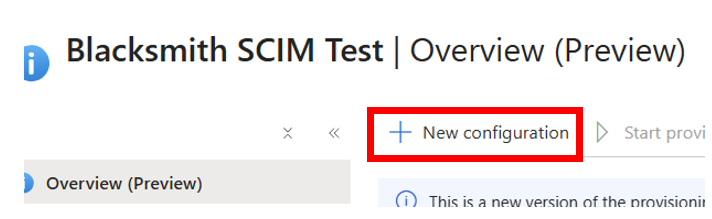
- Click New Configuration
-
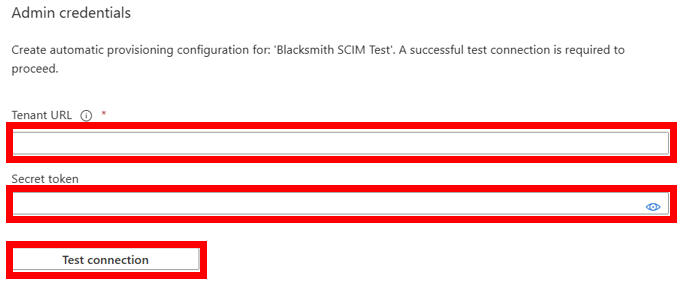
- Set Enter Blacksmith SCIM Info.

-
- Enter https://api.blacksmithinfosec.com/scim/v2 for the Tenant URL.
- Paste your key copied from Step 1
- Click on Test Connection to ensure Azure AD can communicate with your SCIM endpoint. This will validate the URL and credentials.
-
- Once the test results are successful click Create
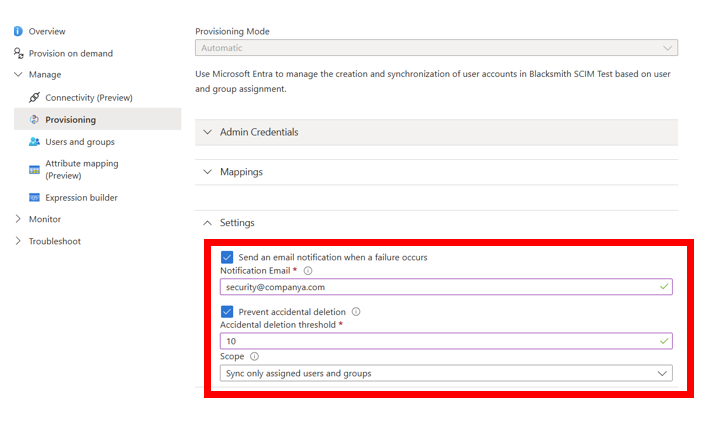
- Configure Alerts and Accidental Deletion:
-
- Expand Manage > Provisioning > Settings
- Check the box for Send an email notification when a failure occurs.
- Enter an email address for where alerts should be sent to for example admin@companyx.com.
- Check the box for Prevent Accidental deletion.
- Set the threshold for accidental deletion, our recommendation is 10.
-
- Click Save
- Assign Users or Groups
- Click Users and groups
- Select Add user/group
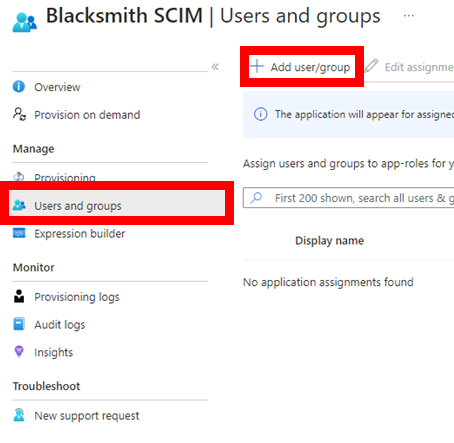
-
- Select None Selected

-
- Assign the Users or Groups you want synced to Blacksmith InfoSec.
- Click Assign
- Start Provisioning
- Click on Overview (Preview)
- Click on Start provisioning
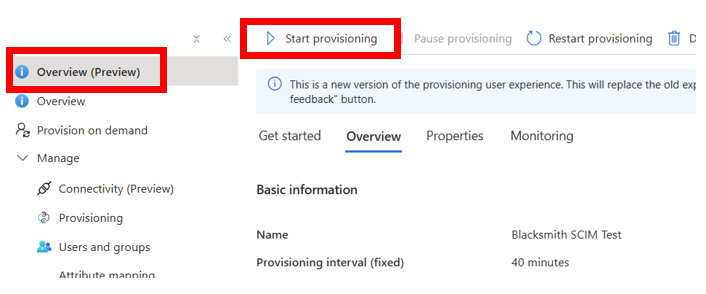
-
- Click Refresh to make sure the initial cycle completed.