Login to the Blacksmith portal. <Login Link>
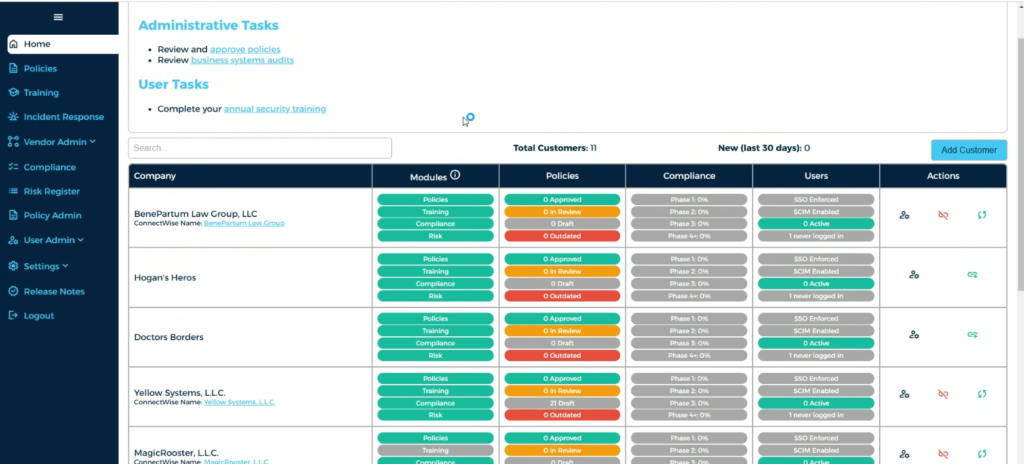
From the Blacksmith dashboard, navigate to SETTINGS.
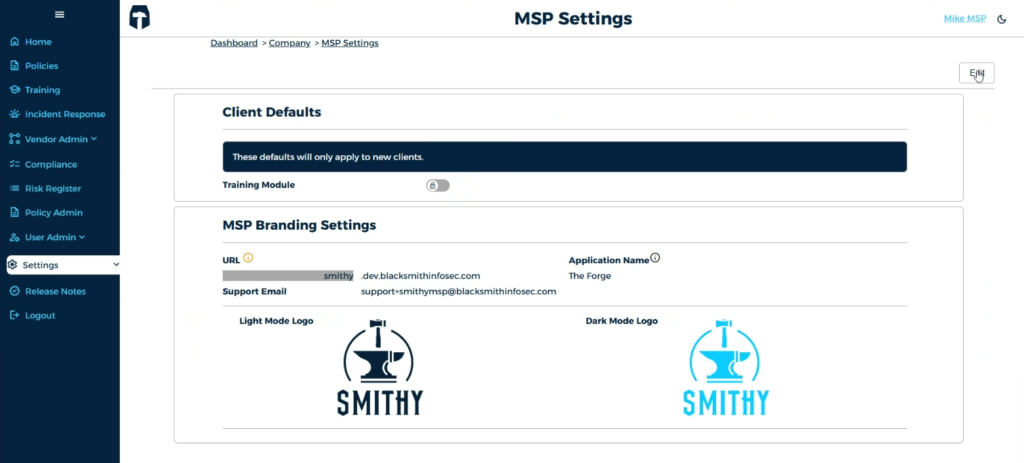
Configure MSP branding, including custom URL, application name, and logos.

Choose to enable (default) or disable the end-user training module.
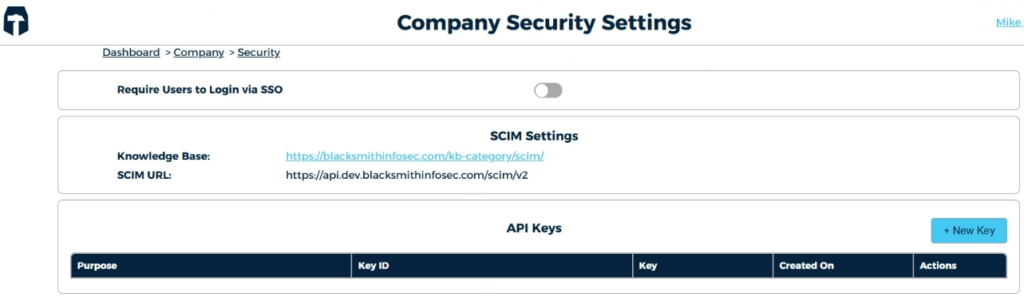
Configure company security settings, including Single Sign-On and SCIM.
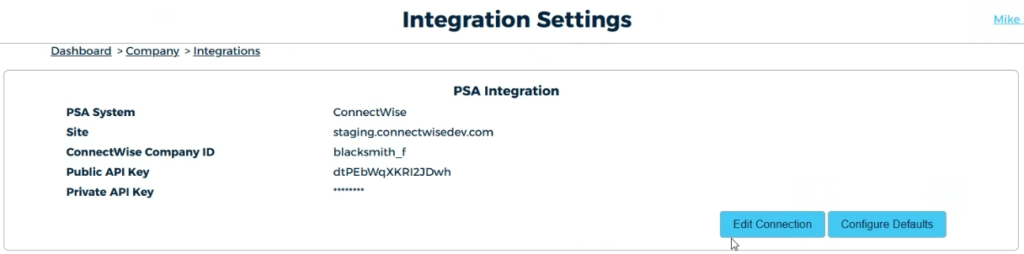
Configure integration settings (i.e. ConnectWise integration to turn the Compliance Roadmap into a project in CWM).

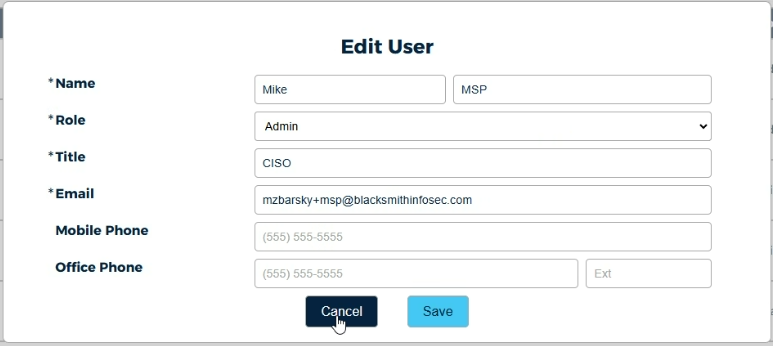
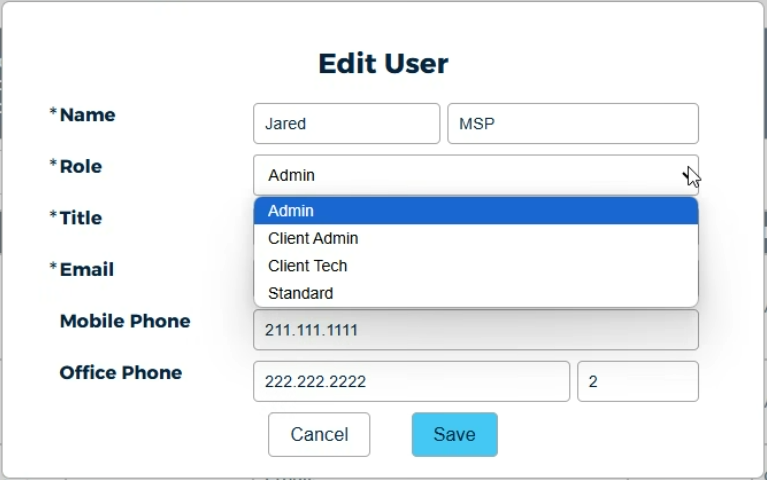
Add users and assign roles.
The Admin role grants access to the entire platform. The Client Admin role lacks administrative functionality, but the user can still manage clients and add clients. The Client Technician (Client Tech) role can manage clients, but isn’t permitted to add new clients.
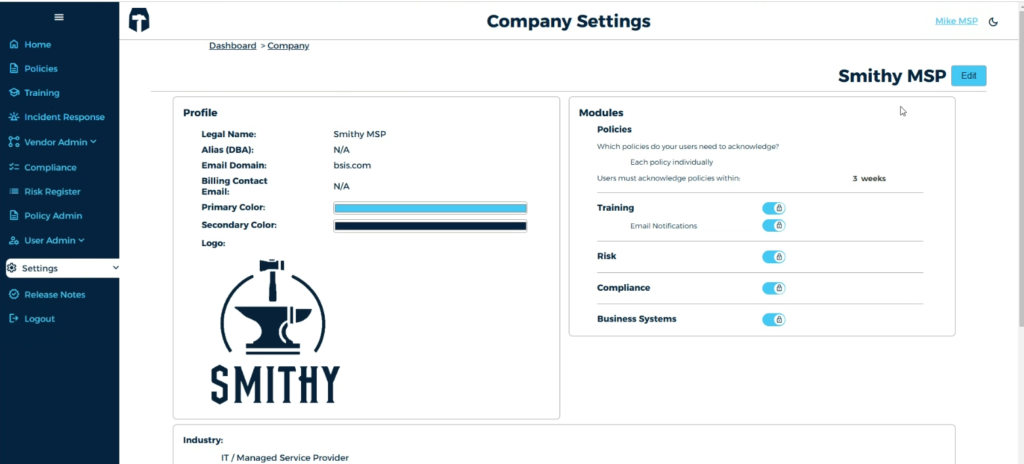
Configure the license (client or NFR) under Company Settings.
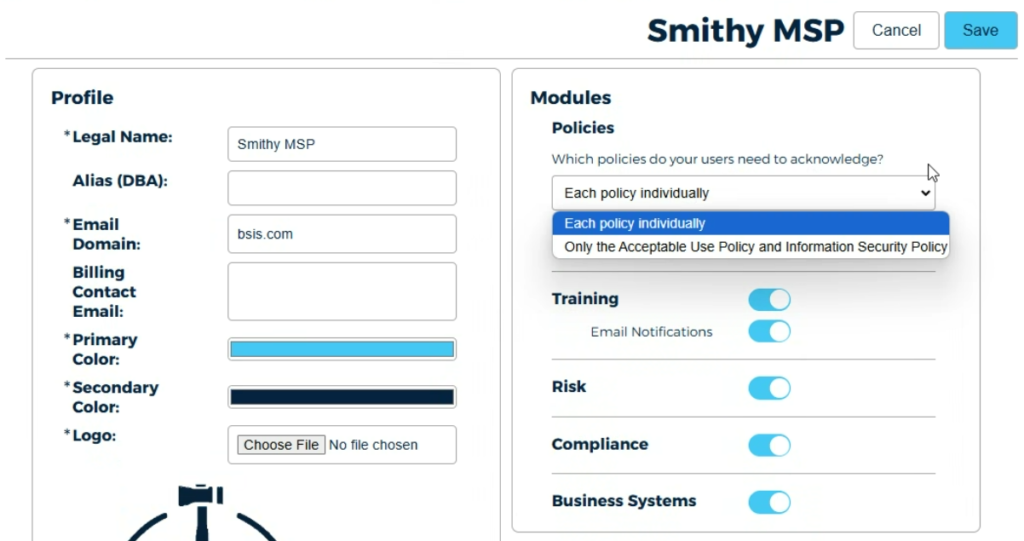
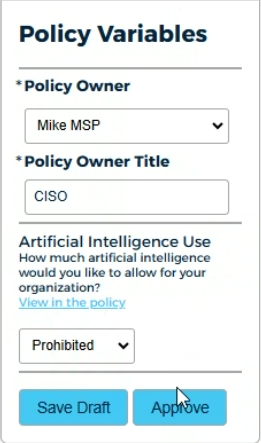
Choose how policies will be acknowledged by end users.
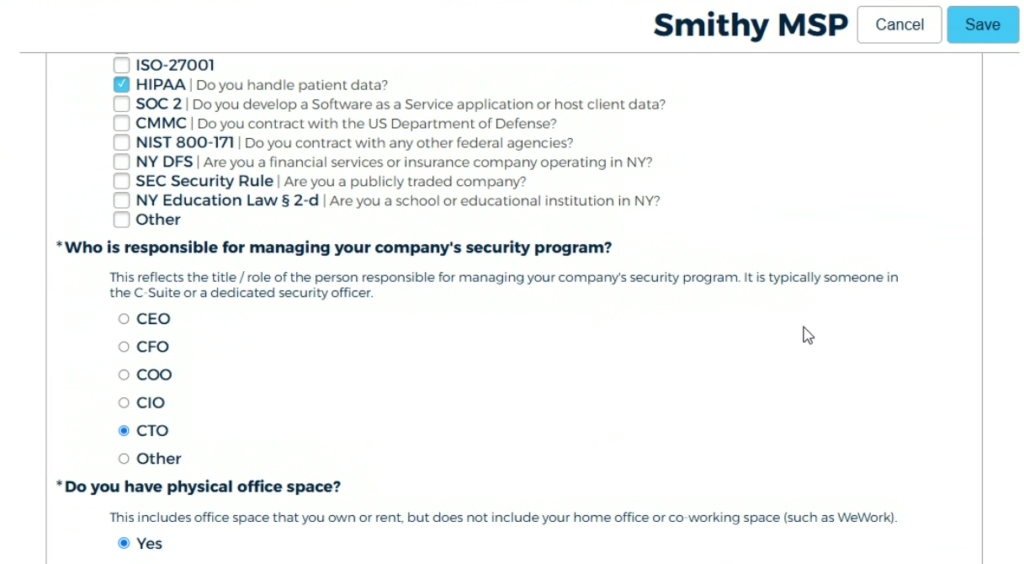
Choose applicable industry and compliance frameworks. Select who in the company will be managing the security program.
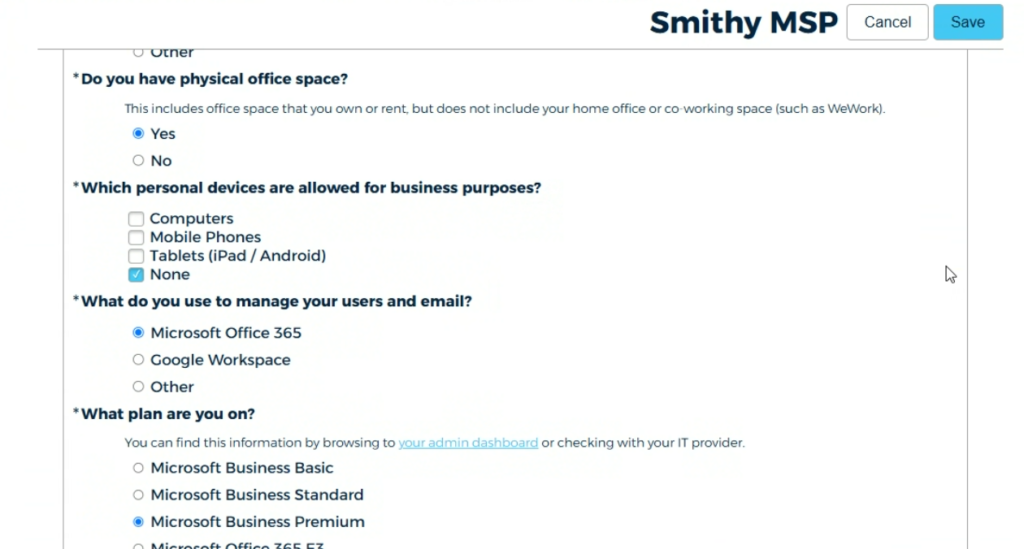
Select the applicable answers for all remaining questions.

Behold! Your policy drafts as specified by the company’s selected frameworks.
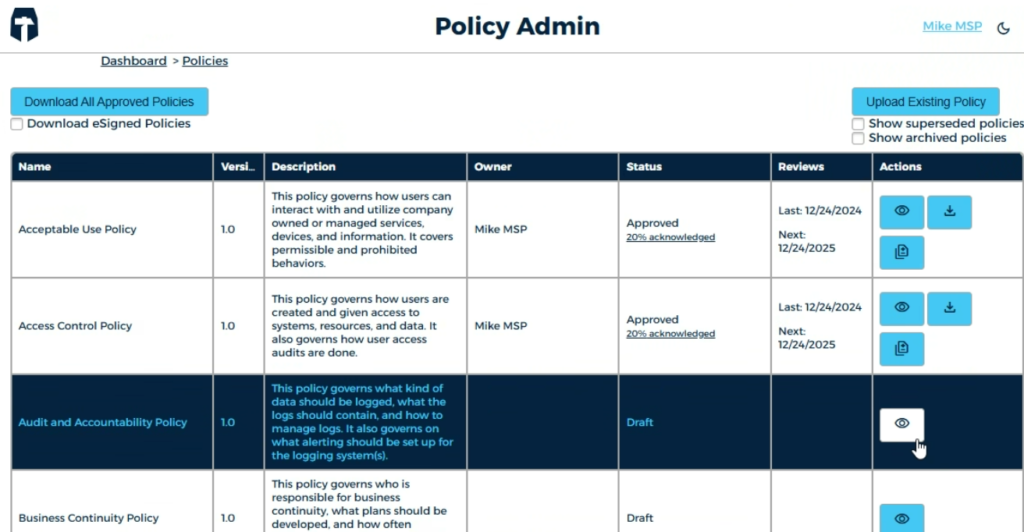
Manage all published policies from the Policy Admin screen.
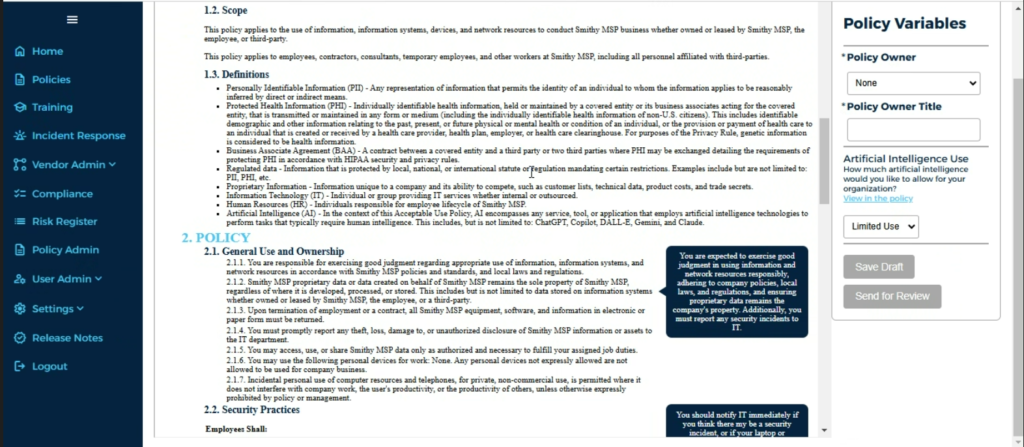
Manage all published policies from the Policy Admin screen.
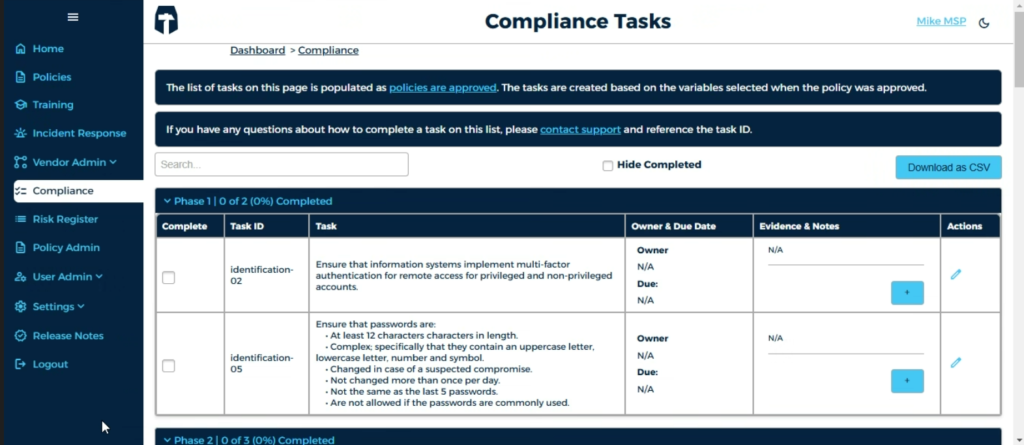
Policies and variables are used to populate the Compliance Roadmap, visible on the Compliance Tasks screen.
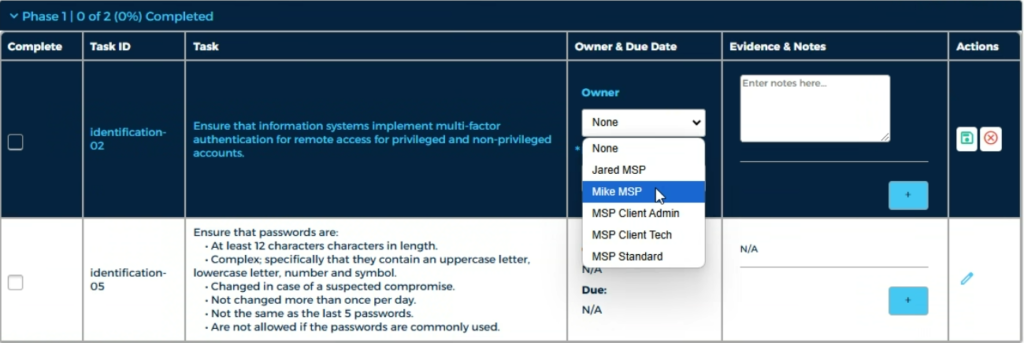
Assign owners and due dates to the tasks in the Compliance Roadmap.

Submit evidence as needed to demonstrate compliance.

Check the box to mark completion of the task.
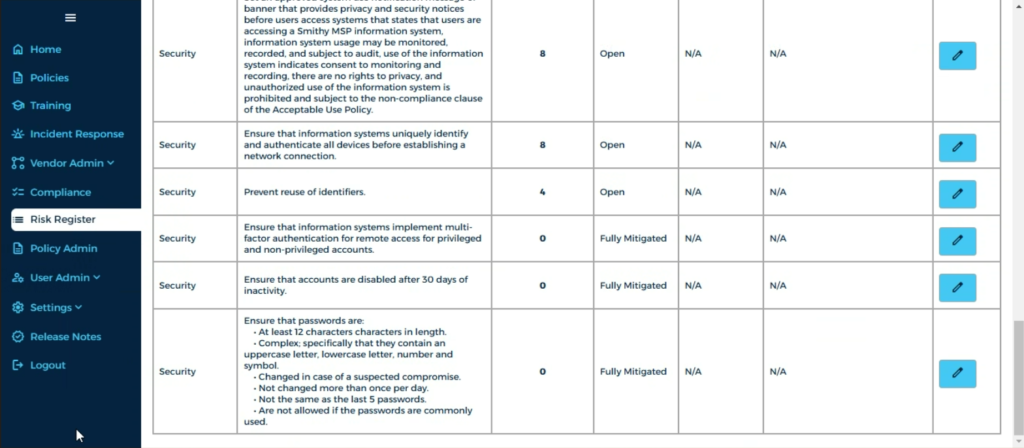
Actions taken in the Compliance Tasks panel are updated in the Risk Register which shows the company’s outstanding compliance/security risks.

The Risk Register auto-populates with data from the Policies and Compliance Tasks panels, but risks can also be manually added as needed.
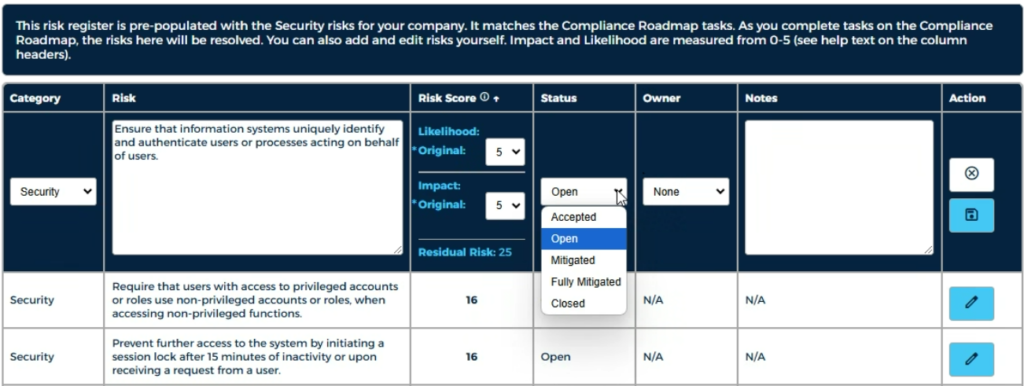
Use these dropdowns to configure the risk level, status, and owners of each risk factor.
Navigate to the Incident Response panel to document relevant contacts and information.

Add your local Federal field offices to the documentation to help meet reporting requirements.
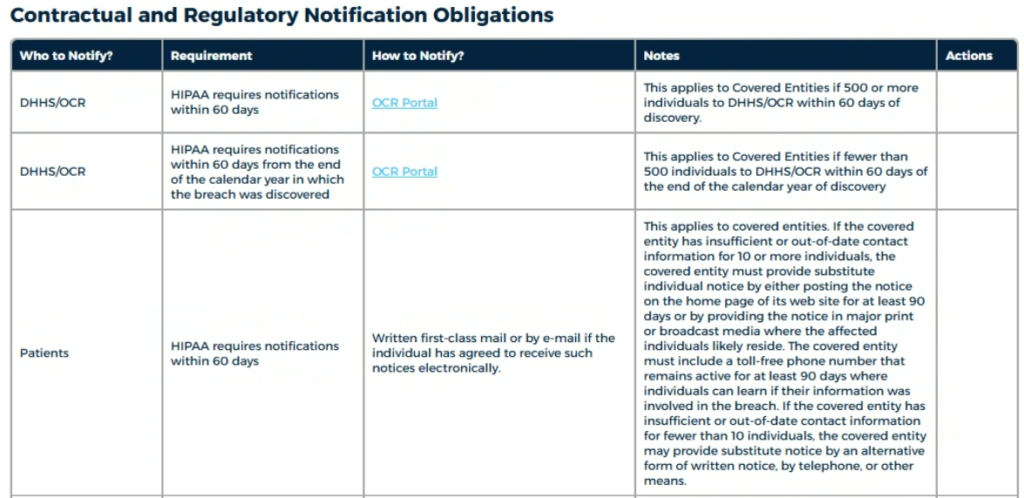
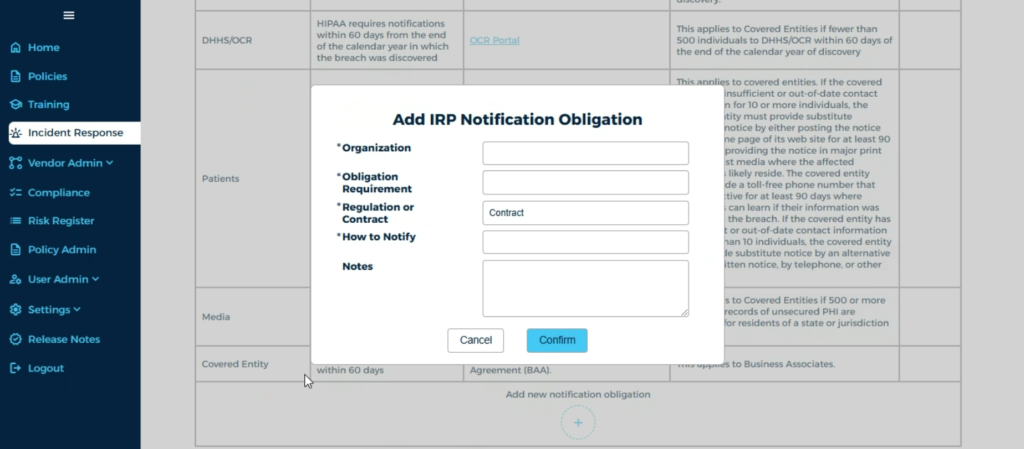
Note and amend notification requirements.
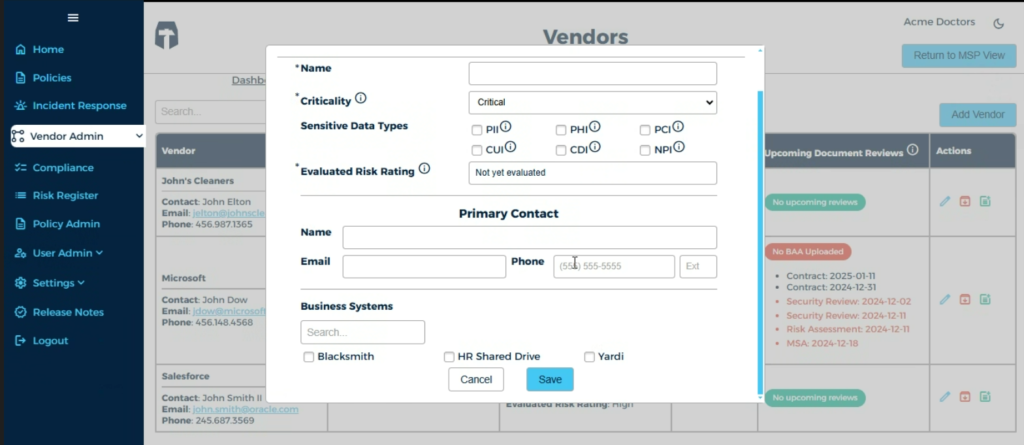
Navigate to the Vendor Admin panel. Use this screen to add and document vendors for third-party risk management.
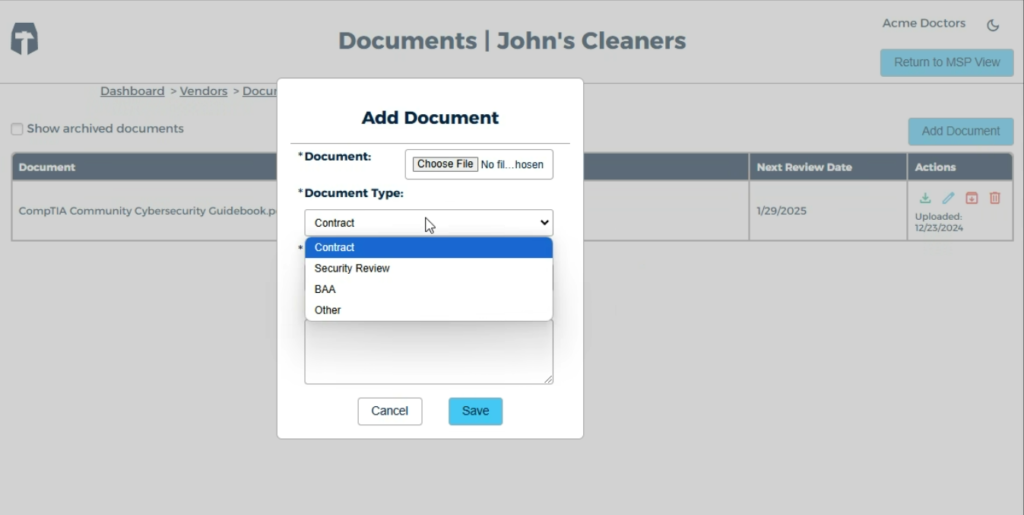
Add relevant documents such as contracts or MSAs to each vendor.
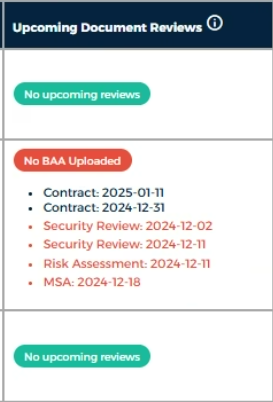
Document requirements, review dates, and approvals are tracked for each vendor.
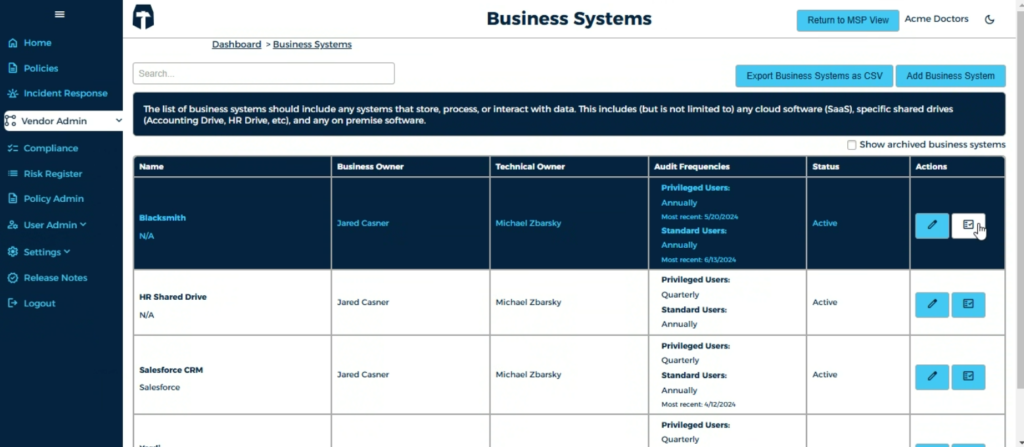
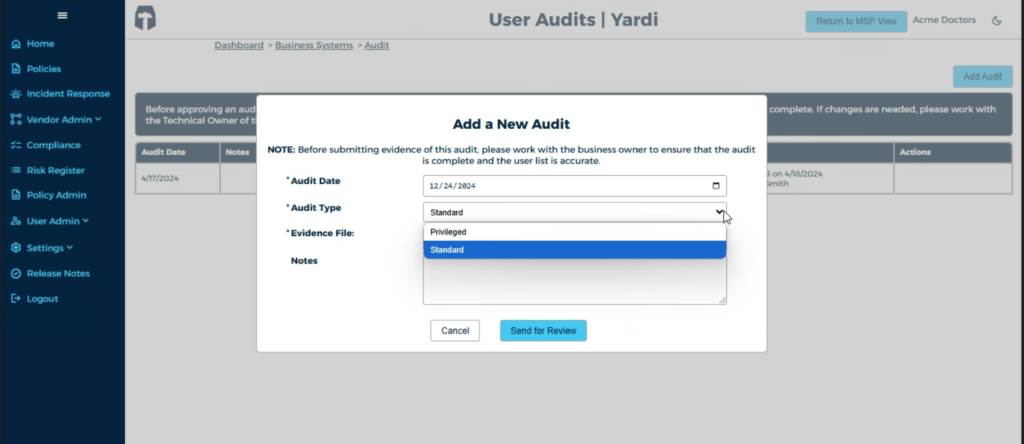
Associate vendors with critical business systems and track audits.
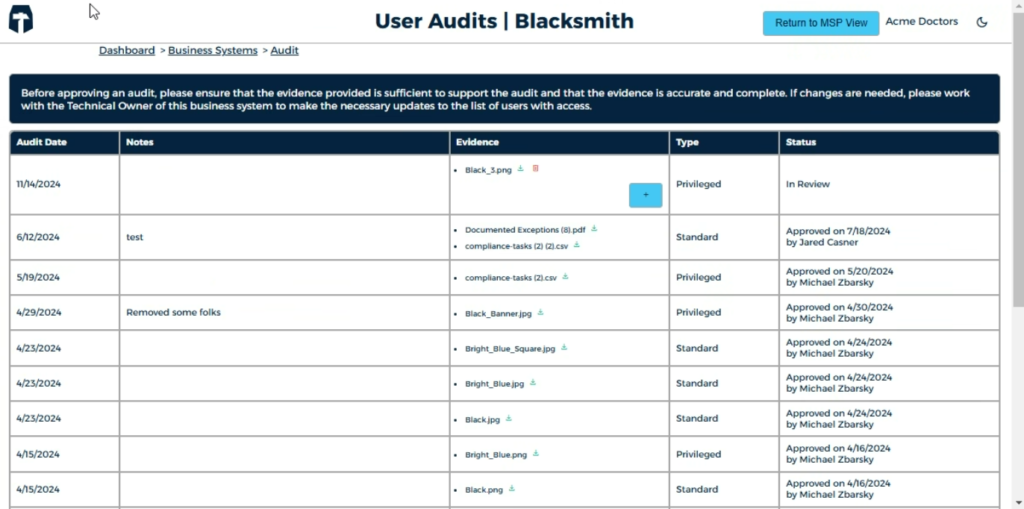
Capture and track evidence of user reviews.

That’s it! You’ve complete the basic walkthrough of the Blacksmith portal!
If you have any further questions, don’t hesitate to contact your account manager, or return to the Resources section for more helpful articles.